Downloading and Using the App
ACCESSING AND USING THE APP
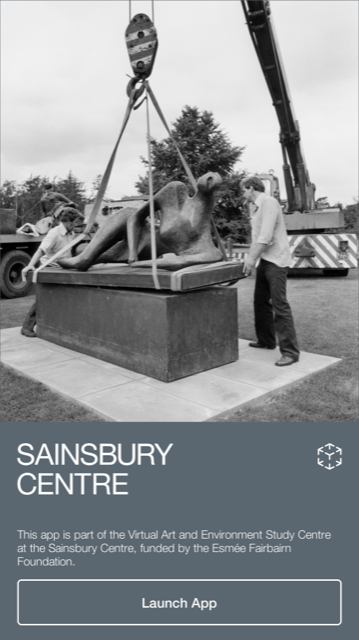
Thanks to the generous support of the Esmee Fairbairn Foundation, we have been able to develop an Augmented Reality app to accompany this course. This is free to download onto your mobile device from the Apple App and Google Play stores.
If the words ‘augmented reality’ and ‘app’ are already filling you with dread, please be reassured – it’s in no way essential to completing the course! Please don’t worry if this is beyond your tech skills or hardware. However, if you do have a smart phone or tablet, and you are able to download and use it, it will give you enhanced ways to experience the works in our sculpture park. You’ll be able to conjure up three dimensional images of the sculptures that you can view from every angle, and in wonderful detail, seeing how they look in your own space.
This app features Henry Moore’s Reclining Figure, Elisabeth Frink’s Mirage I & II, Ian Tyson’s Proximity, Lawrence Edwards’ Man of Stones, and Antony Gormley’s 3 x Another Time. You’ll be reminded to use the app when we come to these works in the course.
We hope that this will be particularly helpful for participants who are not within travelling distance of our sculpture park. But even for those of you who are able to visit in person, the app will allow you to play with the placement of sculptures in different settings, using different sizes and scales, noticing how this changes our relationship with them – a key theme that we’ll be exploring on this course. .
Once your app is downloaded, it’s been designed to be easy and intuitive to use. However, if you have any problems, here is a quick run down of how to navigate the various functions, and how you’ll be using them as a part of this course.
Selecting which work you want to view. Once you’ve launched the app, use the menu on the landing page to find the work you want.
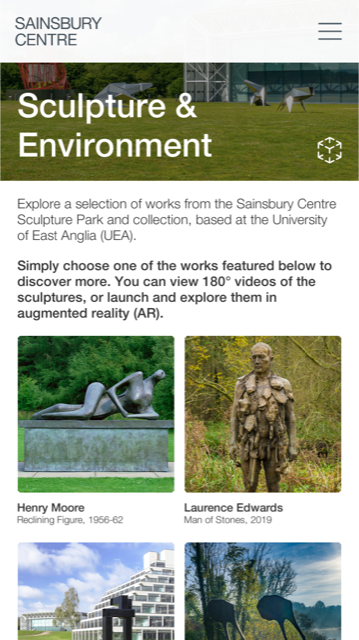
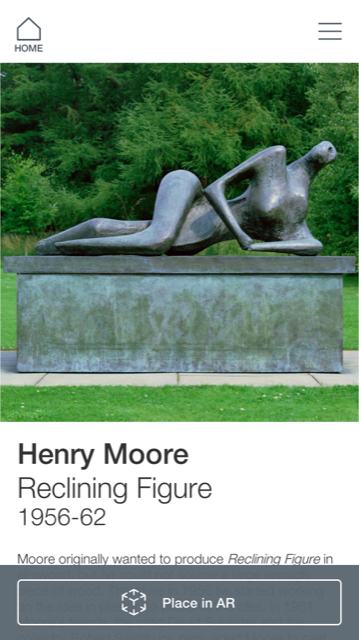
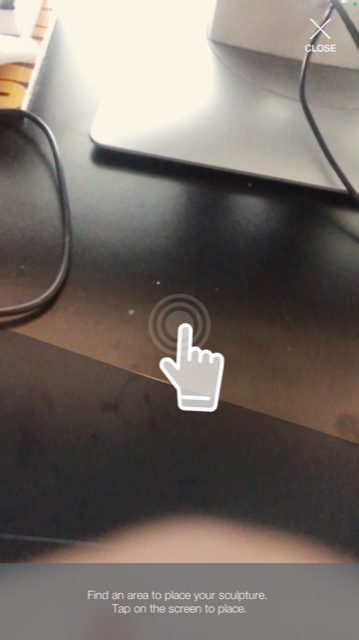
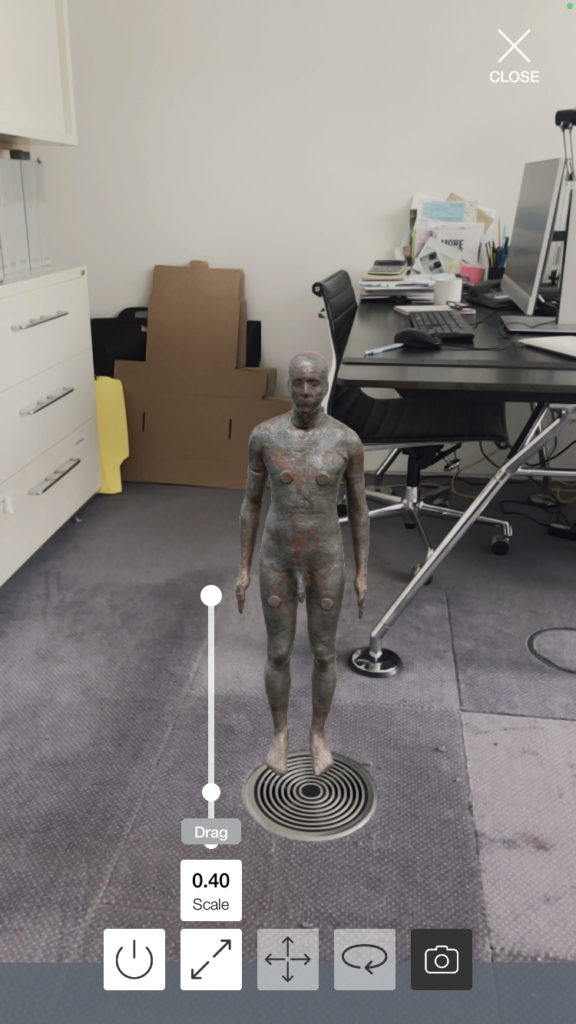
Rendering a work in AR. As soon as you select a work from the menu, the ‘place in AR’ ribbon will also appear at the bottom of the page. This will open the camera, showing whatever is in front of you on the screen. Scan the camera on a flat surface until the pointing finger icon appears. Touch this where you want the sculpture to appear.
TIPS:
If you’ve not done this before, it does take a little practice. If you have problems making the sculpture appear, try the following:
- Scan with your camera to find a clear, flat space. Avoid patterned surfaces, e.g. a black-and-white tiled floor. The 3D model will want to appear at full size, so ensure there is enough space for the size of the sculpture.
- Go into your app settings and check the camera is enabled. The AR function won’t work without this.
Changing the size and position of sculpture. The sculpture will appear at its true size when you render it in AR.
You will see a menu at the bottom of the screen.
From left to right:
- The first icon allows you to find a new location for the sculpture in your space.
- The second, a diagonal double-ended arrow, allows you to scale the work up and down using the slider.
- The third, the crossed arrows, allows you to position the work closer and further away
- The fourth allows you to rotate the work
- The fifth allows you to take a photo of the sculpture in its setting and share it.
If you stand up and ‘walk around’ the sculpture with your device you can see if from all angles. This creates a good sense of encountering the work and wandering around it in the flesh, as it were.
We’ll be talking about the difference between ‘size’ and ‘scale’ a lot in this course, and how important it is when considering sculpture out of doors, so these features are a really useful way to play with actual size and relative scale in order to better understand their significance in relation to a work’s setting.
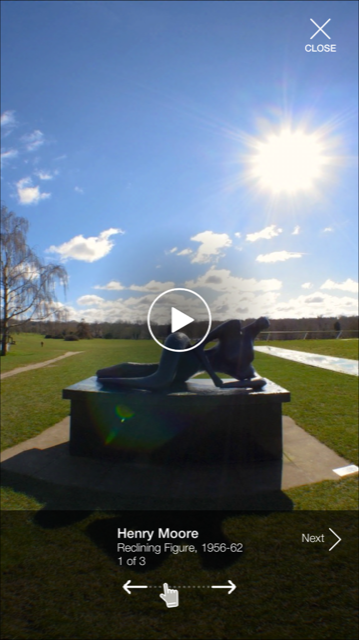
Rotating the 180 degree videos
These videos play like a normal video, so you’ll notice that elements in the landscape will be moving and you can hear sound. Unlike a normal video, you can also use the arrows or your touch screen to swivel the view around yourself, as it were, as if you were turning your head to either side. This allows you to take in more of the surrounding settings, which in this course, will be a vital part of how we understand our relationship with sculpture out of doors.
And again – if you don’t have a device that supports the app, please don’t worry, it’s a nice optional extra, but not essential. Image galleries and videos are incorporated into the lesson pages and will serve perfectly well as an alternative.
